Introduction
Sushi has taken global cuisine by storm, and among its vibrant variations, the California Crunch Roll stands out for its delightful flavors and textures. Creating this favorite at home not only allows for personalized touches but also the satisfaction of mastering a culinary art.
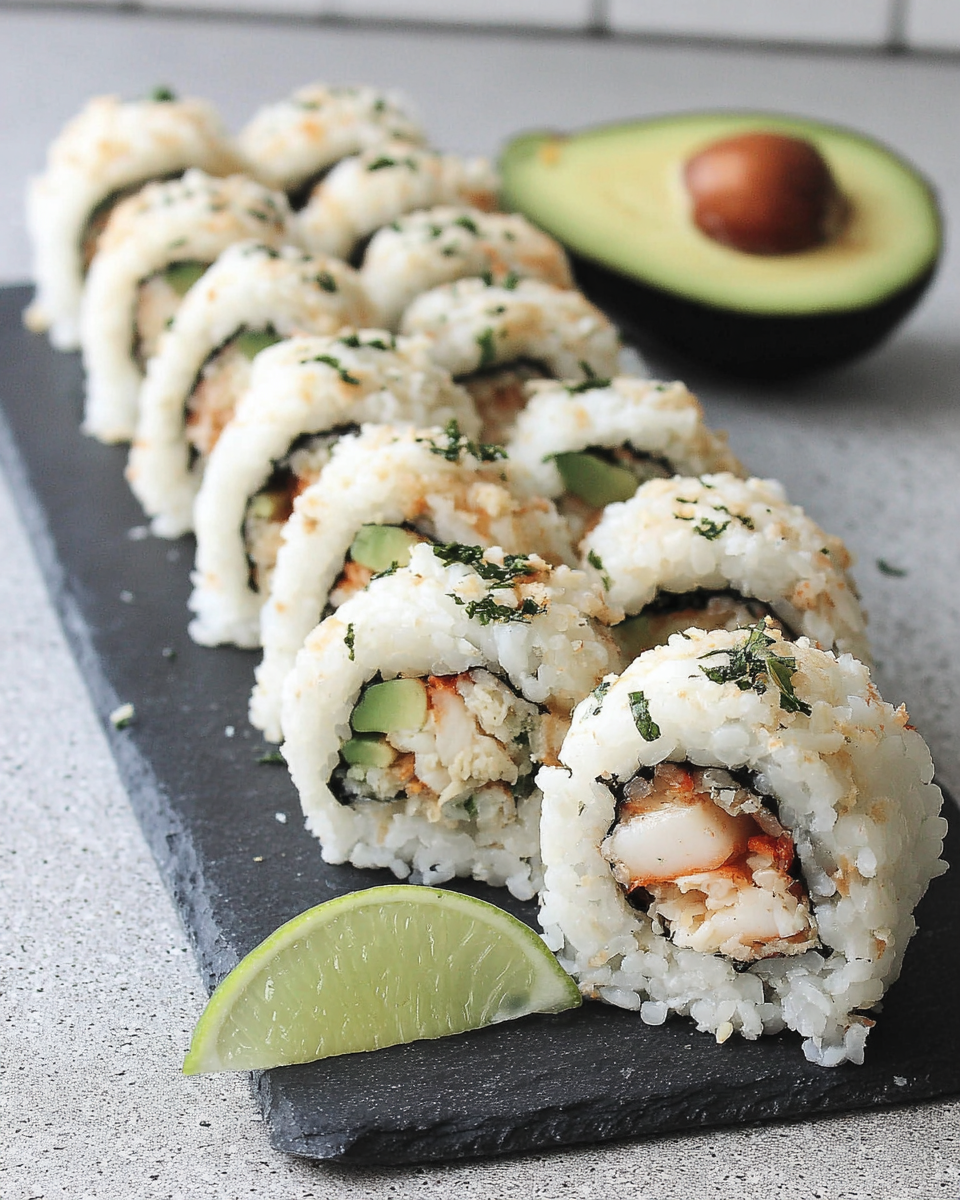
Typically featuring imitation crab, fresh vegetables, and a crispy exterior, the California Crunch Roll is as appealing to the eye as it is to the palate. With the right ingredients and a bit of patience, anyone can roll their own sushi and impress family and friends.
Ingredients
- 2 cups sushi rice
Sushi rice is a short-grain rice that becomes sticky when cooked. This stickiness is essential for holding the roll together, allowing you to create firm and neat rolls. - 2 1/2 cups water
Water is necessary for cooking the rice. The right amount ensures each grain cooked properly, achieving optimal texture for sushi making. - 1/3 cup rice vinegar
Rice vinegar adds tanginess to the sushi rice, balancing flavors and keeping the rice moist. It is an essential component of the traditional sushi flavor profile. - 2 tablespoons sugar
Sugar enhances the overall flavor of the rice, contributing to a sweeter taste that complements the salty and umami notes of the fillings. - 1 teaspoon salt
Salt elevates the flavor of the sushi rice, ensuring that it is seasoned perfectly to be delicious on its own, which is crucial when wrapped in seaweed. - 4 sheets nori (seaweed)
Nori provides structure and contains the roll's ingredients, adding a sea-like umami flavor that is iconic in sushi dishes. - 8 ounces imitation crab (surimi)
Imitation crab offers a sweet and tender bite, imitating real crab meat while being a more economical choice suitable for sushi. - 1 ripe avocado
Avocado contributes creaminess to the roll, balancing the other flavors and providing a rich texture. Fresh, ripe avocados are key for the best results. - 1 small cucumber
Cucumber adds a refreshing crunch and bright flavor, complementing the creamy avocado and sweet crab in the roll. - 1 cup panko breadcrumbs
Panko breadcrumbs contribute a desirable crunch to the sushi when fried, giving the California Crunch Roll its name and delightful texture. - Vegetable oil for frying
Vegetable oil is essential for frying the panko, creating the crispy coating that distinguishes the crunch roll from other sushi varieties. - Soy sauce for serving
Soy sauce is a traditional accompaniment for sushi, providing a salty, umami-rich dip that enhances the flavor of the rolls.
Directions & Preparation
Step 1: Rinse the sushi rice thoroughly.
Begin by rinsing the sushi rice under cool running water until the water runs clear. This step removes excess surface starch, which can make the rice gummy instead of sticky. Properly rinsed rice will cook more evenly and have a perfect texture for rolling. After rinsing, drain the rice in a fine mesh strainer.
Step 2: Cook the sushi rice.
Combine the rinsed rice and water in a rice cooker or a pot. If using a rice cooker, follow its instructions. When cooking on the stove, bring the mixture to a boil, cover it, and reduce the heat to low for about 18-20 minutes. This step is vital to achieve the right texture of sushi rice, ensuring it is not overcooked or too dry.
Step 3: Prepare the sushi vinegar.
In a small saucepan, combine the rice vinegar, sugar, and salt over low heat until the sugar and salt dissolve. Allow the mixture to cool slightly. This vinegar mixture will season the rice, and the slight heat helps in dissolving the sugar and salt more effectively.
Step 4: Mix the rice with the sushi vinegar.
Once the rice is cooked, transfer it to a large mixing bowl and gently fold in the sushi vinegar mixture using a wooden spoon or rice paddle. It's essential to be gentle to avoid mashing the rice, as maintaining the grain structure is key. Cooling the rice to room temperature helps it firm up slightly for easier rolling.
Step 5: Prepare the fillings.
Slice the avocado and cucumber into thin strips. The uniform size is important for even distribution within the sushi roll and ensures each bite offers a complete flavor profile. Using fresh produce enhances the overall taste and texture of the roll.
Step 6: Lay out the nori.
Place a sheet of nori, shiny side down, on a bamboo sushi mat or a clean cutting board. The bamboo mat helps to shape the roll evenly and tightly. Ensuring the nori is level will facilitate an even roll, which is essential for presentation and bite.
Step 7: Spread the sushi rice on the nori.
With wet hands to prevent sticking, take a handful of sushi rice and evenly spread it over the nori, covering about 3/4 of the sheet. Press gently but firmly to ensure the rice adheres well to the nori. Leaving space at the top is crucial for sealing the roll later.
Step 8: Layer the fillings.
Place a few strips of imitation crab, cucumber, and avocado across the rice. It’s important to not overstuff the roll, as this can lead to difficulty in rolling and could cause the contents to spill out. Aesthetic placement of the fillings adds to the appeal when sliced.
Step 9: Roll the sushi.
Using the bamboo mat, start rolling the nori away from you while applying gentle pressure. Keep the fillings in place and roll tightly without squeezing too hard to avoid damaging the ingredients. The end of the nori should seal the roll, aided by a bit of water along the edge to stick.
Step 10: Prepare the panko crust.
In a pan, heat vegetable oil over medium heat. Dip the sushi rolls in panko breadcrumbs, pressing gently to ensure they adhere. This step is vital as the panko adds crunch and texture, making the rolls distinctively 'crunchy' when fried.
Step 11: Fry the sushi rolls.
Carefully place the sushi rolls in the hot oil and fry until golden brown, about 2-3 minutes per side. Frying the rolls creates a crispy exterior and should be done in batches to avoid overcrowding the pan. Remain vigilant, as rolls can brown quickly.
Step 12: Let the rolls cool.
Once fried, transfer the rolls to a paper towel-lined plate to drain excess oil and cool slightly before slicing. Allowing the sushi to cool makes handling and cutting easier, ensuring clean slices that don’t crumble.
Step 13: Slice and serve.
With a sharp knife, slice each roll into 6-8 pieces using a gentle sawing motion. Wiping the blade after each cut prevents rice from sticking and provides clean edges. Serve with soy sauce, wasabi, and pickled ginger for a complete sushi experience.

The Beauty of Fresh Ingredients
Using fresh ingredients makes a significant difference in the flavor and texture of your California Crunch Roll. Choose ripe avocados, crisp cucumbers, and high-quality imitation crab for optimal results. Freshness not only enhances taste but also contributes to a visually appealing dish, amplifying the sushi experience for your family and friends.
The Importance of Technique in Rolling
Mastering the rolling technique is pivotal in sushi-making. A tight yet gentle roll prevents the sushi from falling apart and ensures all fillings are evenly distributed. Practicing with the bamboo mat—applying consistent pressure while rolling—can lead to impressive results, and even if your first rolls are not perfect, they still taste delicious!
Crispy Crunch: The Role of Panko
The panko breadcrumb coating sets California Crunch Rolls apart. This Japanese-style breadcrumb lends an airy crunch that complements the softness of the sushi fillings. Frying the rolls in vegetable oil creates a perfect textural contrast, making each bite a delightful experience. Taking the time to fry your rolls is worth the extra effort.
FAQs
What if my rolls fall apart when cutting?
If your sushi rolls fall apart, ensure that you’ve rolled them tightly and used enough pressure while rolling. Additionally, letting the rolls cool and slightly set before cutting can help them hold together better.
Can I use other proteins instead of imitation crab?
Yes, you can substitute imitation crab with real crab, shrimp, or even tofu for a vegetarian option. Just ensure that the substitute complements the other flavors and textures in the roll.
What should I do if my sushi rice is too sticky?
If your sushi rice is too sticky, it may have been overcooked or not rinsed enough before cooking. Next time, rinse the rice until the water runs clear and monitor the cooking time closely to prevent overcooking.
Is there a way to make this roll spicy?
To add spice, incorporate spicy mayo made with mayonnaise and Sriracha into the fillings, or sprinkle spicy tobiko on top of the rolls for an extra kick.
What if my avocado browns quickly after cutting?
To minimize browning, keep the cut avocado covered with plastic wrap or lemon juice. Both methods help to reduce exposure to air, keeping the avocado fresh longer.
Can I make these rolls without frying them?
Absolutely! For a lighter option, you can skip the frying and enjoy the sushi rolls as they are, or even lightly toast the panko in an oven for a different crunch.
Conclusion
Making California Crunch Rolls at home not only allows you to enjoy fresh sushi but also gives you the chance to personalize each element to suit your taste. Embracing the process might take some practice, but the rewards in flavor and satisfaction are tremendous.
Whether enjoyed as a casual family dinner or an elegant gathering, these rolls can impress any audience. So, gather your ingredients, roll up your sleeves, and enjoy the delightful experience of crafting your own sushi.
Recipe Card

Savory Shrimp Po’ Boy Sandwich Recipe for Home Cooks
Ingredients
- 1 lb large shrimp peeled and deveined
- 1 cup buttermilk
- 1 cup all-purpose flour
- 1 teaspoon paprika
- 1 teaspoon garlic powder
- 1 teaspoon salt
- 1/2 teaspoon black pepper
- Vegetable oil for frying
- 4 hoagie rolls
- Lettuce leaves
- Tomato slices
- Remoulade sauce 1/2 cup mayonnaise, 2 tablespoons Dijon mustard, 1 tablespoon lemon juice, 1 tablespoon capers, chopped
Instructions
- Prepare the shrimp
- Marinate shrimp in buttermilk
- Mix the dry ingredients
- Heat the oil
- Dredge the shrimp
- Fry the shrimp
- Drain and season shrimp
- Assemble the sandwich
- Serve immediately
Notes
Additional serving suggestions: pair with a crisp salad, garlic bread, or roasted seasonal vegetables for balance.
For make-ahead, prep components separately and assemble just before heating to preserve texture.
Taste and adjust with acid (lemon/vinegar) and salt right at the end to wake up flavors.


