Introduction
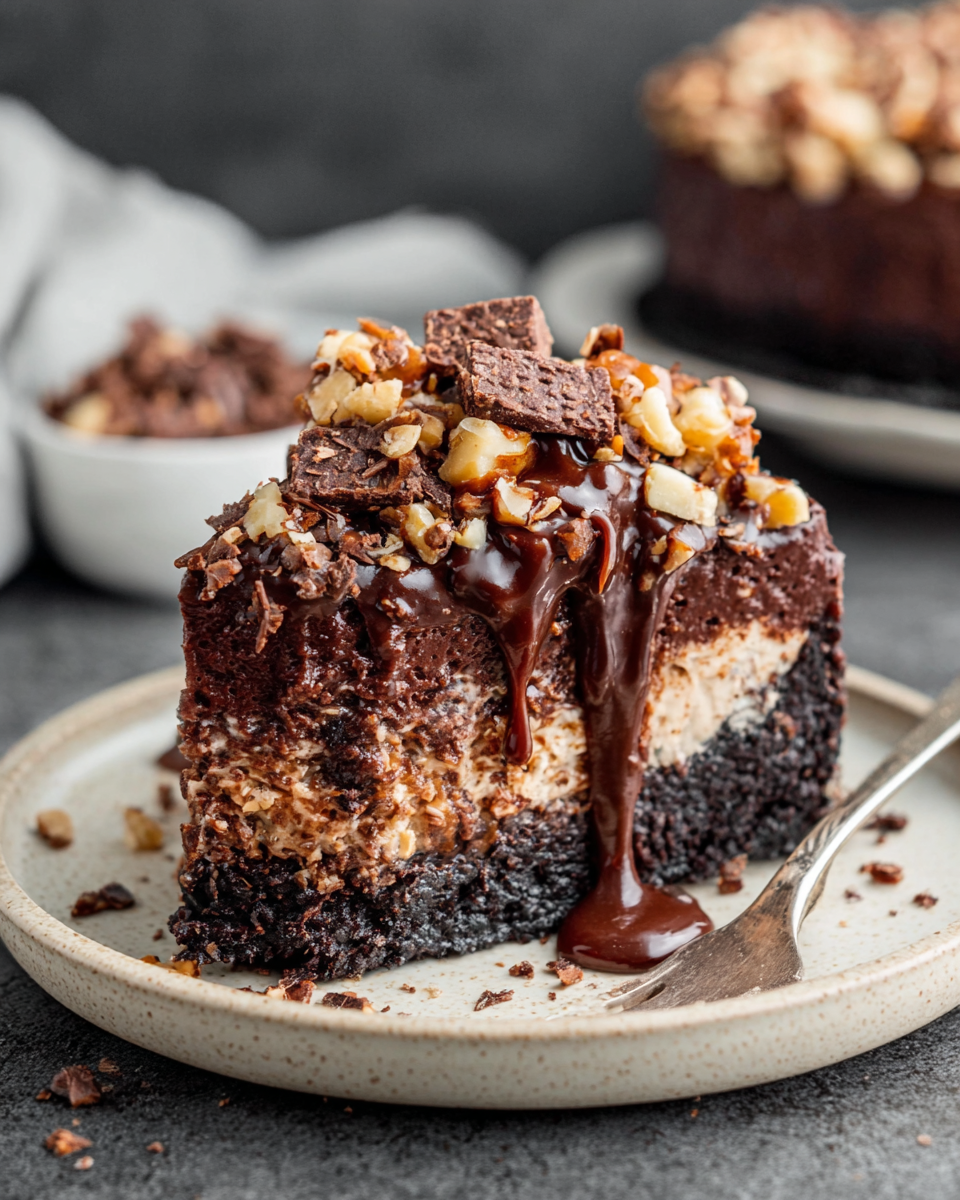
If you’re searching for a dessert that delights while requiring minimal effort, look no further than easy no-bake moose farts. This whimsical name reflects a playful approach to dessert making, bringing laughter to the kitchen and smiles to faces.
Perfect for gatherings or a sweet treat after dinner, moose farts combine creamy textures with decadent flavors, offering a variety of taste sensations that are all too irresistible. With just a few ingredients and no oven required, you can whip up this fun dessert in no time.
Ingredients
- 1 cup chocolate wafer cookies, crushed
These cookies serve as the base for your dessert, providing a rich, chocolaty flavor and a satisfying crunch. Their texture helps bind the layers together while adding depth to the taste. - 1/2 cup unsalted butter, melted
The melted butter brings everything together, acting as a binding agent for the crushed cookies. Its richness also enhances the overall flavor, making each layer more indulgent. - 8 ounces cream cheese, softened
Cream cheese gives the dessert its creamy, smooth texture. It adds a slight tanginess that balances the sweetness of the chocolate and other ingredients beautifully. - 1 cup powdered sugar
Powdered sugar sweetens the mixture without any graininess, creating a smooth filling. It helps the dessert maintain its structure while providing that desired sugary flavor. - 1 cup whipped topping
Whipped topping adds lightness and volume to the dessert, contributing to its overall airy texture. It makes the filling fluffy and easy to spread, enhancing the enjoyment with every bite. - 1/2 cup chocolate syrup
Chocolate syrup is both a flavor booster and a decorative element. It creates a luscious finish and adds a drizzle of sweetness that complements the other chocolate components. - 1/4 cup mini marshmallows
Mini marshmallows add fun texture and a chewy bite. They also provide a whimsical look and enhance the dessert’s appeal, making it even more delightful to serve.
Directions & Preparation
Step 1: Prepare the crust by combining crushed cookies and melted butter.
Start by mixing the crushed chocolate wafer cookies with the melted butter until evenly coated. This step is crucial as it forms the base of the dessert, creating a sturdy structure. Press the mixture firmly into the bottom of a prepared dish to ensure the crust holds together when you cut the dessert later.
Step 2: In a bowl, blend softened cream cheese and powdered sugar until smooth.
Mixing the cream cheese with powdered sugar until completely smooth is essential for achieving a creamy filling. This step helps eliminate lumps that could disrupt the silky texture of your dessert. Scrape down the sides of the bowl frequently to ensure an even mixture.
Step 3: Fold in the whipped topping and mini marshmallows into the cream cheese mixture.
Gently folding in the whipped topping helps maintain the lightness of the mixture while introducing a creamy, fluffy element. The mini marshmallows add a pop of texture, giving bite-sized surprises in each serving. Be careful not to deflate the mixture during this process.
Step 4: Spread the cream cheese mixture over the cookie crust.
Using a spatula, carefully spread the cream cheese mixture over the prepared crust smoothly and evenly. This step layers the flavors, and an even distribution is important for consistent flavor in every bite. Don’t rush—take your time to make sure it’s well-spread.
Step 5: Drizzle chocolate syrup on top and refrigerate for at least two hours.
Drizzling the chocolate syrup on top is your final decorative touch before chilling. This step not only enhances the appearance but also allows the flavors to meld as the dessert sets in the refrigerator. Chilling is crucial; it helps firm up the filling and improves the texture.
Step 6: Slice and serve the no-bake moose farts.
When it’s time to serve, use a sharp knife to slice the dessert into squares or bars. Take a moment to appreciate the layers visible in each slice. Serve chilled and enjoy the delighted reactions as your guests relish the playful charm of the dish.

The History Behind the Name
You might be wondering about the playful name of this dessert—moose farts. While its origins aren’t distinctly documented, the whimsical title has surfaced mainly in regions where spirited naming trends for food are embraced. It captures a sense of humor and fun that's often missing from traditional dessert names, making it perfect for casual gatherings where laughter is the main course.
Texture Matters: Creamy vs. Crunchy
One of the enchanting aspects of easy no-bake moose farts is the contrast in textures. The creamy filling provides smoothness while the crushed cookie crust serves as a crunchy counterpart. This play of textures keeps each bite exciting, encouraging everyone to come back for more. Experimenting with different cookie bases can create even more texture diversity.
Customizing Your Moose Farts
While the classic recipe is perfectly delightful, consider customizing the moose farts to suit your taste preferences. From adding fruits like raspberries or strawberries for a refreshing touch to infusing flavors with extracts such as vanilla or mint, the possibilities are endless. Each change adds a layer of uniqueness, ensuring your version is distinct and personal.
FAQs
What should I do if my cream cheese mixture is too thick?
If the cream cheese mixture feels too thick to spread, try adding a tablespoon of milk at a time while blending. This will help achieve a smoother consistency without compromising on flavor.
Can I use a different type of cookie for the crust?
Absolutely! You can experiment with various cookie types for the crust, such as graham crackers or biscoff cookies, each bringing a unique flavor that complements the creamy filling.
What if my dessert doesn’t set properly in the fridge?
If your dessert isn’t setting as expected after chilling, ensure that the cream cheese was fully softened before mixing and that you incorporate enough powdered sugar, which helps stabilize the filling.
How can I reduce the sweetness of the dessert?
To adjust the sweetness, you can reduce the amount of powdered sugar or incorporate some unsweetened cocoa powder into the filling for a balanced flavor profile.
Can I add nuts to the filling or crust?
Certainly! Chopped nuts can add a delightful crunch to both the crust and the filling. Just be mindful of how much you add to keep the texture balanced.
What if I want to make a larger batch for a party?
To make a larger batch, simply double the ingredients and use a larger dish. Just ensure you distribute the filling evenly to keep the texture consistent across all servings.
Conclusion
These easy no-bake moose farts are sure to become a beloved addition to your dessert repertoire. With playful flavors and a fuss-free preparation, they make dessert enjoyable and accessible for any home cook.
Embrace the whimsy and creativity they offer, and don’t hesitate to make this recipe your own. Serve it at your next gathering, and watch as it brightens up the table and brings smiles to your guests.
Recipe Card

Hearty Crockpot Chicken and Rice Delight
Ingredients
- 2 pounds boneless skinless chicken thighs
- 1 cup long-grain rice
- 4 cups chicken broth
- 1 medium onion diced
- 2 cloves garlic minced
- 1 teaspoon dried thyme
- 1 teaspoon paprika
- Salt and pepper to taste
- Fresh parsley for garnish
Instructions
- Prepare the ingredients.
- Layer the chicken in the crockpot.
- Add the diced onions and garlic.
- Pour in the chicken broth.
- Sprinkle the rice and seasonings.
- Stir gently to combine.
- Cover and set the crockpot.
- Check for doneness.
- Fluff and serve.
- Garnish with fresh parsley.
Notes
Additional serving suggestions: pair with a crisp salad, garlic bread, or roasted seasonal vegetables for balance.
For make-ahead, prep components separately and assemble just before heating to preserve texture.
Taste and adjust with acid (lemon/vinegar) and salt right at the end to wake up flavors.


