Introduction
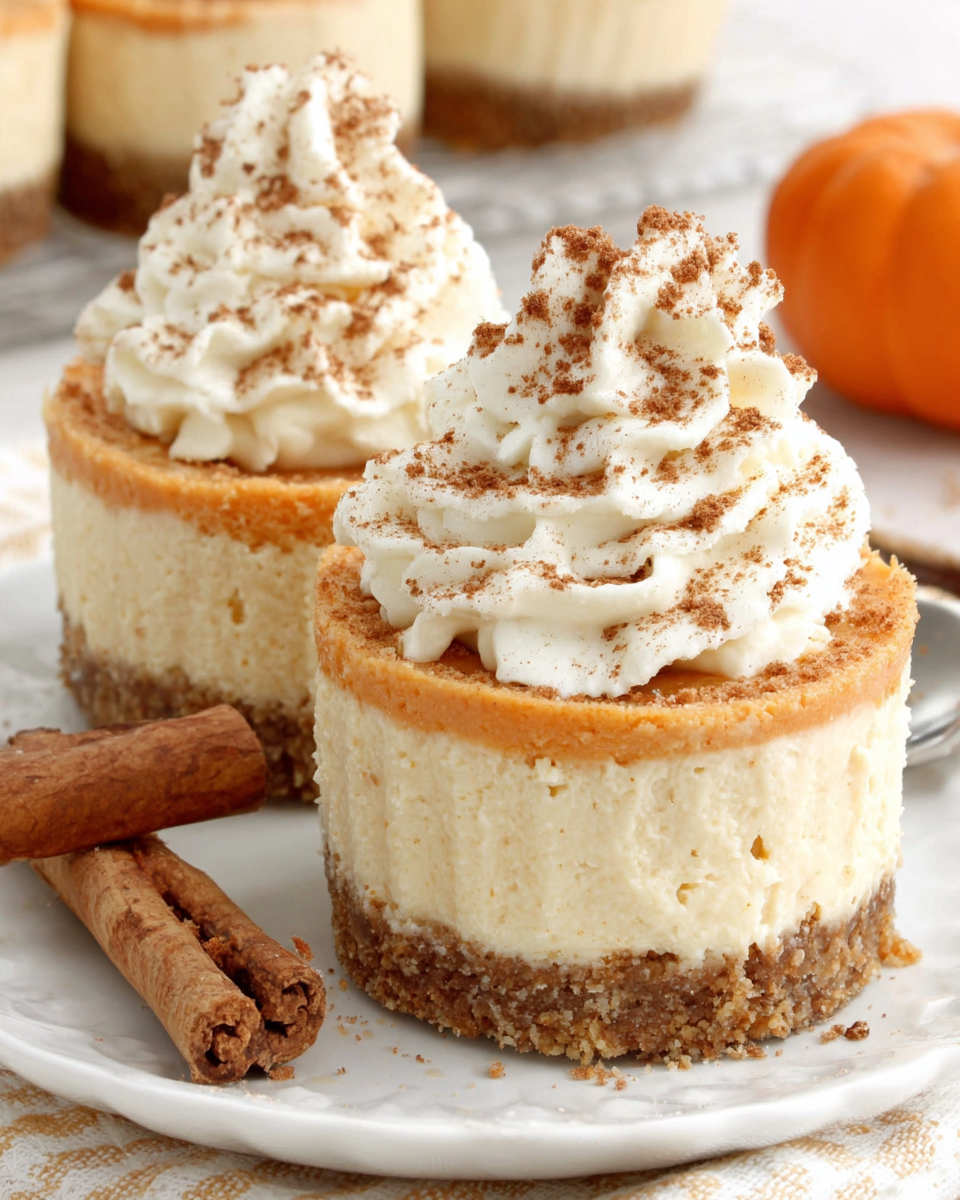
Nothing says fall quite like the warm, spiced flavors of pumpkin. These No Bake Pumpkin Mini Cheesecakes bring together all the seasonal favorites in a delightful, easy-to-prepare dessert. Perfect for gatherings or a cozy evening at home, these mini treats are as pleasing to the eye as they are to the palate.
With a creamy filling that balances pumpkin puree, cream cheese, and a hint of spice, these cheesecakes offer a taste of autumn in every bite. The best part? No baking required, making them ideal for novice bakers or anyone looking to save time in the kitchen while still impressing guests.
Ingredients
- 1 cup graham cracker crumbs
Graham cracker crumbs form the base of the cheesecake crust, providing a sweet and slightly crunchy texture that contrasts beautifully with the smooth filling. They add a traditional flavor associated with cheesecake desserts. - 4 tablespoons unsalted butter, melted
Melted butter binds the graham cracker crumbs together, enhancing the crust's flavor and ensuring it holds its shape when pressed into the mini cheesecake molds. The richness of butter also contributes to the overall decadence of the treat. - 8 ounces cream cheese, softened
Cream cheese is key to creating a thick, creamy filling that brings richness to the cheesecake. Its mild flavor pairs perfectly with the pumpkin and spices, providing a luxurious mouthfeel. - 1 cup pure pumpkin puree
Pumpkin puree infuses the cheesecakes with the essence of fall. It not only adds flavor but also contributes moisture and a beautiful color, making the dessert visually appealing. - 1/2 cup powdered sugar
Powdered sugar adds sweetness without a gritty texture, allowing for a smooth and creamy filling. It dissolves easily, preventing any grainy sensation in the finished cheesecakes. - 1 teaspoon vanilla extract
Vanilla extract enhances the overall flavor of the cheesecakes, adding depth and balance to the pumpkin and cream cheese. It acts as a unifying flavor that elevates the dessert. - 1 teaspoon ground cinnamon
Ground cinnamon brings warmth and spice, enhancing the seasonal feel of the cheesecakes. It's a staple flavor in many pumpkin recipes and complements the sweet and creamy elements. - 1/2 teaspoon ground nutmeg
Nutmeg adds a fragrant, spicy note that elevates the pumpkin flavor. Just a hint of nutmeg can create a more complex flavor profile, inviting the warmth of the fall season with each bite. - 1/2 teaspoon ground ginger
Ground ginger introduces a zesty warmth that balances the sweetness of the filling. It adds a little extra complexity to the flavor, making these cheesecakes more intriguing. - Whipped cream for topping
Whipped cream serves as a light, fluffy topping that adds an airy texture to the mini cheesecakes. It can balance the richness of the filling, providing a lovely finish and an inviting presentation.
Directions & Preparation
Step 1: Prepare the crust
Start by mixing the graham cracker crumbs with the melted butter in a bowl until combined. This step is crucial as it creates a firm crust that will hold the filling. Press the crumb mixture into the bottom of your mini cheesecake cups—ensure it's evenly distributed for consistent texture in each bite.
Step 2: Make the filling
In a mixing bowl, beat the softened cream cheese until smooth, then add pumpkin puree, powdered sugar, vanilla extract, and spices. This step is the heart of your cheesecake; beating the cream cheese first ensures a lump-free mixture and a creamy texture. Incorporating the pumpkin and spices at this stage allows the flavors to meld harmoniously.
Step 3: Combine ingredients
After mixing the filling, fold in the spices gently to ensure they are evenly distributed. This technique prevents over-mixing, which can incorporate too much air into the mixture and affect texture. You'll want a thick but smooth filling to fill your crust neatly.
Step 4: Fill the crusts
Spoon the pumpkin filling into each of the prepared crusts, filling them evenly. This step allows you to control the amount of filling in each cup, ensuring that every mini cheesecake is just the right size. Level off the tops for an aesthetically pleasing presentation.
Step 5: Chill the cheesecakes
Once filled, place the mini cheesecakes in the refrigerator for at least 3-4 hours. Chilling is essential as it allows the filling to set properly, giving the cheesecakes their signature texture. A longer chilling time can yield even better results, so consider making them a day ahead.
Step 6: Top with whipped cream
Before serving, add a dollop of whipped cream on top of each cheesecake for a light, airy contrast. This finishing touch not only enhances the visual appeal but also adds an exciting texture, elevating the overall experience of each bite.

Perfecting the Pumpkin Flavor
When it comes to pumpkin desserts, the quality of the pumpkin puree greatly impacts the final taste. Look for pure pumpkin puree, not pumpkin pie filling, to ensure true pumpkin flavor. Furthermore, enhance the taste by adjusting the spices to your liking; the warmth of cinnamon, nutmeg, and ginger should blend seamlessly for the best experience.
Elevating Presentation
Presentation can make or break a dessert, even one as simple as mini cheesecakes. Consider serving these in clear cups or jars to showcase the layered look of the crust and filling. Garnish with additional spices, candied pecans, or a sprinkle of cinnamon to create an enticing visual that will draw guests in before they even take a bite.
Perfect Pairings for Serving
These No Bake Pumpkin Mini Cheesecakes pair splendidly with various accompaniments. Consider serving with a spiced chai tea or a rich coffee for a warm, comforting flavor accent. Alternatively, a scoop of vanilla ice cream can add a delicious cold contrast, making for a delightful dessert experience that's sure to impress.
FAQs
What to do if the filling is too thick?
If your filling is too thick, try adding a tablespoon of milk or cream and mixing again until you reach your desired consistency. This gentle adjustment can lighten the filling without compromising the flavor.
Can I substitute regular cream cheese with whipped cream cheese?
Yes, whipped cream cheese can be used, but it may result in a lighter filling. Make sure to adjust the powdered sugar quantity if necessary, as whipped cream cheese can be sweeter than regular cream cheese.
Why did my crust crumble when cutting?
If your crust crumbles, it may not have enough butter or was not pressed down firmly enough. Ensure the crust is tightly packed before filling, and consider adding a tad more melted butter if it doesn't hold together.
How can I make these cheesecakes sweeter?
To increase sweetness, you can add more powdered sugar to the filling. Start with an additional 1-2 tablespoons, then taste and adjust as needed to ensure the flavor remains balanced.
What makes this recipe different from traditional pumpkin pie?
These mini cheesecakes differ from traditional pumpkin pie mainly due to their creamy, no-bake filling. The texture is smoother and richer, thanks to cream cheese, providing a decadent alternative to the classic pie.
Are there any tips to enhance the spice flavor?
Boost the spice flavor by increasing the amount of ground spices slightly, or by toasting them beforehand. Toasting enhances the fragrance and depth, resulting in a more pronounced warm spice profile in your cheesecakes.
Conclusion
These No Bake Pumpkin Mini Cheesecakes are a delightful way to celebrate the flavors of fall in an easy and elegant dessert format. Their creamy texture and spiced aroma are sure to evoke the comforting spirit of the season, making them perfect for any occasion.
Whether served at a gathering or enjoyed during an intimate evening, these mini cheesecakes are bound to leave a lasting impression. With just a few simple steps, you can enjoy this luscious treat that encapsulates the cozy flavors of autumn.
Recipe Card
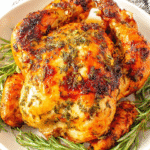
Savory Garlic Herb Roasted Chicken Delight
Ingredients
- 1 whole chicken 4-5 lbs
- 1 head of garlic cloves separated
- 2 tablespoons olive oil
- 1 tablespoon fresh thyme chopped
- 1 tablespoon fresh rosemary chopped
- 1 tablespoon fresh parsley chopped
- 1 lemon cut into wedges
- Salt and pepper to taste
Instructions
- Preheat the oven to 425°F (220°C).
- Prepare the chicken by patting it dry with paper towels.
- Rub olive oil all over the chicken, inside and out.
- Season generously with salt and pepper.
- Stuff the cavity with garlic cloves and lemon wedges.
- Sprinkle the herbs over the chicken and inside the cavity.
- Place the chicken in a roasting pan and tuck the wing tips under.
- Roast the chicken for approximately 1 hour and 15 minutes.
- Let the chicken rest for 10-15 minutes before carving.
Notes
Additional serving suggestions: pair with a crisp salad, garlic bread, or roasted seasonal vegetables for balance.
For make-ahead, prep components separately and assemble just before heating to preserve texture.
Taste and adjust with acid (lemon/vinegar) and salt right at the end to wake up flavors.


